
A reliable event planning checklist is the difference between an event that runs smoothly and one that falls apart over missed details. Whether you are organizing a corporate conference, a wedding, or a product launch, the process follows the same structure: define what success looks like, lock down the logistics, coordinate your vendors, execute on the day, and learn from the results. A checklist tells you what to do at each stage; pair it with a structured event planning workflow to assign owners and lock task order across multiple projects. This guide walks through each phase with actionable steps you can apply to your next event, regardless of size or type.
Phase 1: Define Your Event Goals and Scope
Every event starts with a purpose. Skip this step and you will make dozens of downstream decisions without a clear filter for what matters.
Set measurable goals. "Host a great event" is not a goal. "Generate 200 qualified leads" or "celebrate a client milestone with 150 guests and stay under R$40,000" gives your team something concrete to work toward. Write down one to three goals and share them with every stakeholder before you move forward.
Identify your audience. Who is attending, and what do they expect? A corporate product launch for C-suite executives requires a different format, venue, and catering standard than a team-building retreat for fifty employees. Audience expectations drive your budget, venue choice, and program design.
Choose a date and format. Check for conflicts: holidays, competitor events, school breaks, and local regulations. Decide whether the event is in-person, hybrid, or fully virtual. Hybrid events need separate planning tracks for physical and remote attendees, so factor that into your timeline.
Build a rough timeline. Work backward from the event date. Most corporate events need three to six months of lead time. Weddings often need twelve months or more. Create milestones for key decisions: venue locked, vendors confirmed, invitations sent, program finalized. If you are planning events for clients, this is also the stage where you formalize the scope in a proposal. Our guide on writing event proposals that win clients covers how to turn this scoping work into a document that closes the deal.
Phase 2: Set and Structure Your Budget
Budget overruns are the most common source of stress for event planners. A structured budget prevents surprises and gives you leverage when negotiating with vendors.
Break costs into categories. At minimum, you need line items for venue, catering, audio-visual equipment, decor, entertainment, staffing, marketing or invitations, transportation, and contingency. Allocate a percentage to each category based on your event type. A corporate conference might put forty percent into venue and AV, while a wedding might put forty percent into catering and decor. Our event cost breakdown template guide covers the standard percentage allocations for each event type and shows how to build a reusable structure for all of them.
Add a contingency buffer. Set aside ten to fifteen percent of your total budget for unexpected costs. Last-minute equipment rentals, weather-related changes, and vendor price adjustments happen on almost every event. Without a buffer, these eat into your core budget. Not sure what a realistic total looks like for your event type? Our free budget calculator gives you a baseline estimate to work from.
Track actuals against estimates. A static spreadsheet works for a single event, but it breaks down when you are managing multiple events or need to share budget updates with clients. If you are running more than a few events per year, a dedicated tracking tool saves hours. We wrote about the signs you have outgrown spreadsheets for event planning if that sounds familiar. We covered this in depth in our event budget tracking guide.
Get vendor quotes early. Request itemized quotes, not lump sums. Line-item pricing lets you compare vendors accurately and negotiate specific elements instead of asking for a blanket discount.
Phase 3: Book Your Venue and Vendors
Venue and vendor bookings are the commitments that lock your event into reality. Move on these as soon as your budget and scope are clear.
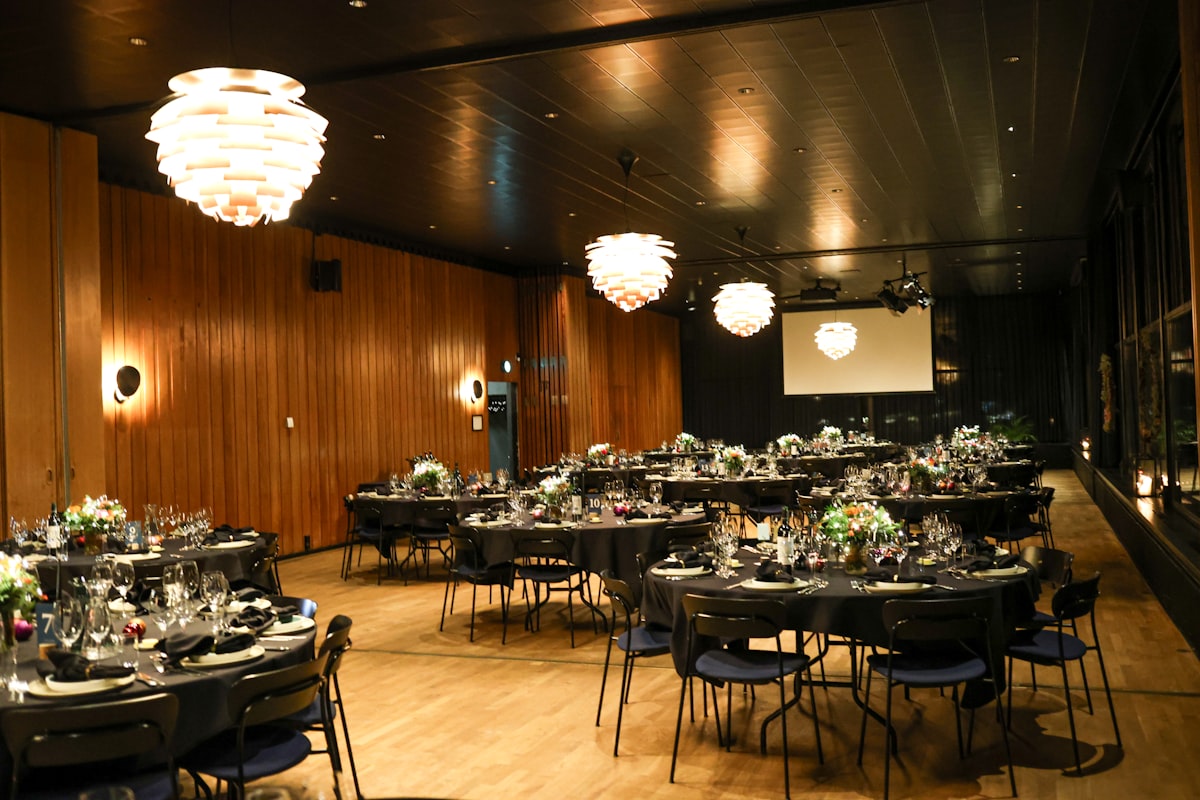
Secure the venue first. Everything else depends on the venue: catering options, AV capabilities, capacity, parking, accessibility, and load-in logistics. Visit the space in person if possible. Ask about exclusive vendor lists, noise restrictions, setup and teardown windows, and insurance requirements.
Build your vendor shortlist. For each vendor category, identify two to three candidates. Compare their portfolios, check references from other event professionals, and request detailed quotes. Our vendor shortlist guide walks through a weighted scoring method for evaluating candidates. Do not rely solely on online reviews. A conversation with another planner who has worked with the vendor tells you more than online ratings alone.
Confirm contracts and deposits. Every vendor agreement should include scope of work, delivery dates, payment schedule, cancellation terms, and a point of contact. Pay deposits to lock in availability, and keep a copy of every signed contract in one place. For tips on handling vendor cancellations, see our vendor cancellation contingency plan.
Coordinate between vendors. This is where most planners lose time. Your caterer needs to know the venue's kitchen layout. Your AV team needs load-in times from the venue manager. Your florist needs setup windows that do not conflict with the DJ's sound check. A central vendor hub, where every contractor can see their timeline and requirements, eliminates the back-and-forth, and the best event planning apps are built around this kind of multi-vendor coordination. Tools like Abastio let you manage your full contractor pool, assign them to events, and track confirmations from a single dashboard instead of scattered email threads.
Phase 4: Plan the Program and Logistics
With your venue and vendors confirmed, shift your focus to what attendees will actually experience.
Draft the event program. Map out every segment: arrivals, keynotes, breakout sessions, meals, entertainment, and transitions. Assign realistic time blocks. A common mistake is scheduling back-to-back sessions without buffer time for room changes, tech setup, or bathroom breaks.
Create a run-of-show document. This is your minute-by-minute script for event day. Include cue times, speaker introductions, AV transitions, and staff assignments. Our guide on how to create an event run sheet covers the five-column structure, timing buffers, and contingency notes that keep your day-of timeline actionable. Share it with every vendor and team member at least one week before the event. Anyone who has a role on the day should know exactly when they are on and what they are responsible for.
Plan registration and check-in. Decide whether you are using printed guest lists, QR codes, or a registration app. Test the system before event day. Long check-in lines set a negative tone before the event starts.
Handle permits and compliance. Depending on your location and event type, you may need noise permits, liquor licenses, fire safety inspections, food handling certifications, or temporary structure permits. Research local requirements early. Permit processing can take weeks, and missing a deadline can force last-minute changes.
Arrange transportation and parking. For large events, coordinate shuttle services or rideshare pickup zones. Send attendees clear directions and parking instructions at least a week in advance.
Phase 5: Execute on Event Day
Event day is about execution, not planning. If you have done the work in phases one through four, your day-of role is coordination and problem-solving.
Hold a pre-event briefing. Thirty minutes before doors open, gather your core team and walk through the run-of-show. Confirm that every vendor is on-site and set up. Identify the point person for each area: registration, AV, catering, guest services. If you want a step-by-step framework for everything from final vendor confirmations to same-day wrap-up, our day-of coordination checklist covers the full sequence.
Assign a troubleshooter. Designate one person whose only job is to handle problems. A speaker is late, the projector fails, a guest has a dietary restriction that was missed. This person does not have a fixed role in the program, which means they can move freely and respond to issues without pulling anyone off their assignment.
Monitor the timeline. Keep your run-of-show document visible at all times. If a session runs long, decide immediately whether to cut the next buffer, shorten the following segment, or let it go. Small delays compound fast.
Document everything. Assign someone to take photos, capture attendee feedback, and note anything that went wrong or better than expected. This information is critical for your post-event review and for improving future events.
Phase 6: Post-Event Review and Follow-Up
The event ends when the last guest leaves, but your work does not. The post-event phase turns a one-time event into a repeatable process.
Send thank-you communications. Within forty-eight hours, thank your attendees, speakers, sponsors, and vendors. For corporate events, include a survey link to capture feedback while the experience is still fresh.
Reconcile the budget. Compare your final expenses against your estimates. Where did you overspend? Where did you come in under budget? This data shapes your budgeting accuracy for future events. If you are managing client events, share a final budget report as a PDF. Clear financial reporting builds trust and repeat business.
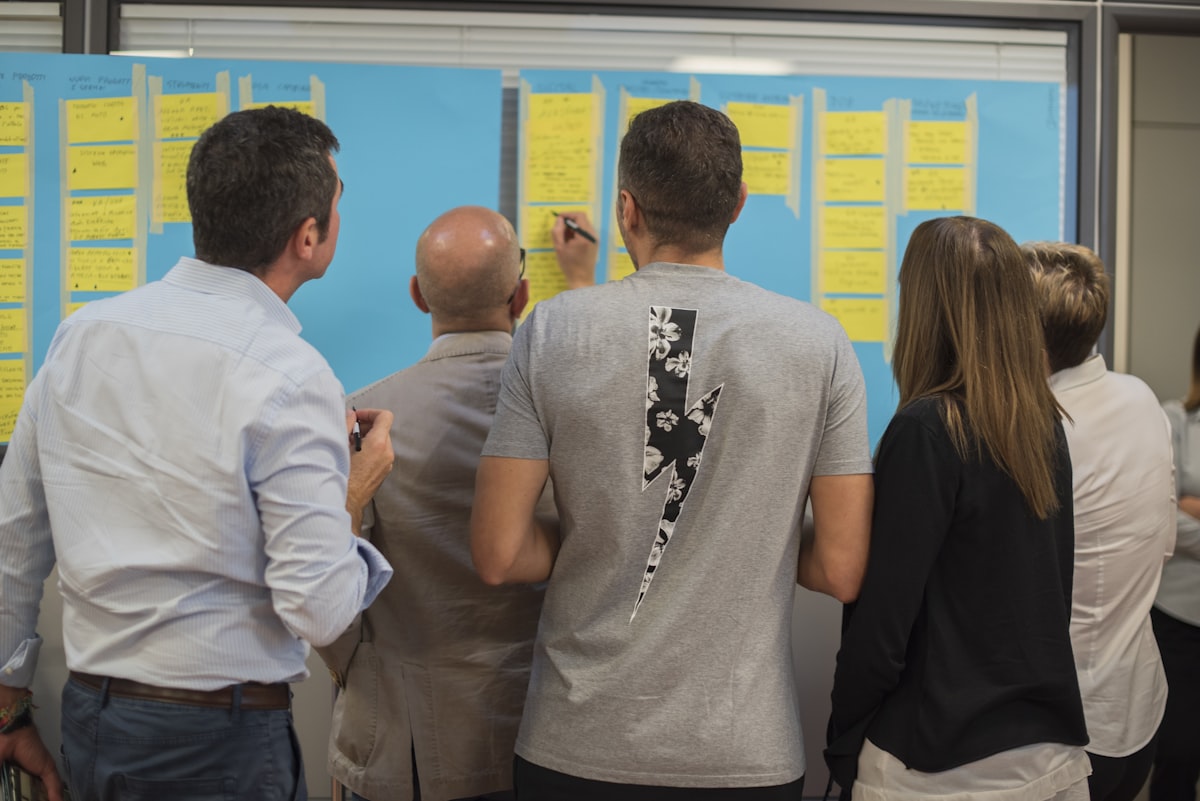
Debrief with your team. Hold a short meeting to review what worked, what did not, and what you would change. Document the outcomes using a post-event evaluation template that covers vendor performance, budget variance, and client feedback in one place. The value of a debrief decreases sharply after two weeks, so do it while details are still clear.
Update your checklist template. Every event teaches you something. Add steps you missed, remove ones that did not apply, and refine your timelines. A checklist that evolves with your experience is worth far more than a static template you downloaded once.
Archive vendor performance notes. Rate each vendor on reliability, quality, communication, and cost. These notes save you time the next time you need to build a vendor shortlist. Over time, you build a curated roster of trusted sub-contractors. For more on managing this process, check our vendor management tips.
Frequently Asked Questions
How far in advance should I start an event planning checklist?
For corporate events and conferences, start three to six months before the event date. Weddings and large-scale productions may need twelve months or more. The key driver is venue availability. Once you have your date and venue locked, you can work backward to set deadlines for every other task.
What is the most commonly missed item on an event planning checklist?
Post-event follow-up. Most checklists focus heavily on the planning and execution phases but skip budget reconciliation, vendor debriefs, and attendee follow-up. These steps are where you capture the return on your investment, whether that means leads generated, client satisfaction, or lessons learned.
Can I use the same checklist for different event types?
Yes, with modifications. About seventy percent of any event planning checklist is universal: budgeting, venue, vendors, logistics, day-of coordination, and post-event review. The remaining thirty percent is event-specific. A wedding checklist includes ceremony rehearsal and seating charts. A corporate conference includes speaker management and sponsor deliverables. Start with a core template and add event-specific modules.
How do I manage an event planning checklist with a team?
Assign ownership for each checklist section to a specific person. Shared spreadsheets work for small teams, but they lack accountability tracking and real-time status updates. A platform with role-based access, like Abastio, lets each team member see their tasks, update progress, and flag blockers without editing the same document simultaneously.
Should I use a digital checklist or a printed one?
Use digital as your primary system and print a simplified version for event day. Digital checklists are easier to update, share, and track across a team. But on event day, you want a one-page run-of-show that you can glance at without unlocking your phone. Print your day-of timeline and critical contact list. Keep everything else digital.
Ready to simplify your event management?
Try Abastio free and see how it streamlines vendor coordination.
Start freeMore posts

Destination Wedding Vendor Coordination Guide

Post-Event Vendor Debrief Template
Wedding Timeline Software: A Planner's Guide
Event Setup and Teardown Checklist for Planners

Wedding Vendor Checklist Template for Planners

How to Handle Last-Minute Event Changes

How to Create an Event Run Sheet (Step by Step)

Event Logistics Planning Guide for Organizers

How to Manage Corporate Event Vendors

Client Communication Tips for Event Planners

Planning Pod vs HoneyBook: Which Fits Your Events?

Event Cost per Attendee Calculator and Guide

How to Create a Vendor Management System for Events

Event Staffing Software for Small Business Teams

Whova Alternatives for Event Planners in 2026

Eventbrite Alternatives for Small Events in 2026

Event Vendor Insurance Requirements Checklist

How to Choose Event Management Software

Best Invoicing Software for Event Planners (2026)

Wedding Vendor Payment Schedule Template
Event Planner Markup Percentage by Vendor Type

Bizzabo Alternatives for Event Planners

Vendor Relationship Management for Event Planners

Event Cost Calculator: Estimate Your Budget Right
Event Contractor Payment Tracking Tools for Planners

Event Communication Plan Template for Planners

How to Create Event Planning Packages

Event Insurance Cost: What Percentage of Your Budget
Social Tables Alternatives for Event Planners

How to Avoid Hidden Vendor Fees at Events
Corporate Event Planning Checklist for 2026

Post-Event Evaluation Template for Planners

Event Workflow Software: A Practical Guide

Propared Alternatives for Event Planners

Best Software for Managing Event Contractors

Wedding Planner Commission Rate Guide for 2026

Best CRM for Event Planners in 2026

Event Coordinator Tools for Portugal

Event Planner CRM: What to Look For in 2026
Vendor Contract Red Flags for Event Planners

Tripleseat Alternatives for Independent Planners

Event Catering Cost per Person by Event Type

Freelance Event Planner Toolkit for 2026

Wedding Vendor Management Spreadsheet Template

Subcontractor Management for Events in Portugal
Hidden Costs of Event Planning You Need to Know

Event Planning Software Pricing Compared

Event Planner Pricing Calculator: Set Your Fees
Event RFP Template for Professional Planners
How Much to Tip Event Staff and Vendors
Event Staff-to-Guest Ratios by Service Role

How Much Deposit Do Event Vendors Require?

Micro Wedding Planning Checklist

How to Hire Vendors for Your Wedding

How to Brief Event Staff Before an Event

Cvent Alternatives for Small Event Planners

How to Invoice Event Clients and Get Paid

Event Vendor Performance Scorecard Guide

Event Budgeting Apps: A Practical Guide for Planners

Cut Event Costs Without Sacrificing Quality

Dubsado vs HoneyBook for Event Planners

Event Risk Management Plan Template

Aisle Planner vs HoneyBook for Event Planners

Event Planning Workflow That Keeps Projects on Track
Wedding Planning Software for Portugal

Corporate Event Management Software for Portugal
Event Collaboration Tools for Planning Teams
Best Wedding Planner Tools for 2026 (Solo to Team)

Event Cost Breakdown Template for Planners
Event Budget Contingency Planning Guide

Event Management Automation Tools for 2026
5 Planning Pod Alternatives Compared (2026)
Event Day-of Coordination Checklist

How to Negotiate Event Vendor Pricing

Event Client Onboarding Template

Best Event Planning Apps Compared: 2026 Picks for Pros

AI Tools for Event Planning: A Practical Guide

How to Create a Vendor Shortlist for Events
HoneyBook Alternatives for Event Planners

Event Planner Tools for Brazil: A Practical Guide

Free Wedding Planner Tools That Work

Wedding Planning Software: A Guide for Pros

How to Write an Event Proposal That Wins Clients

How to Coordinate Wedding Vendors Like a Pro

Event Vendor Cancelled? Your 3-Step Recovery Plan

Event Vendor Management Tips That Actually Work

5 Signs You've Outgrown Spreadsheets for Event Planning